A craft room should be a place that inspires you to create, relax, and enjoy your hobbies. But when supplies start piling up, tools get lost, and clutter takes over, it becomes harder to feel creative or even know where to start. A well-organized craft room doesn’t just look good—it saves time, reduces stress, and helps you work more efficiently. Whether you’re a beginner crafter or someone with years of experience, getting your craft room in order can completely transform your creative process.
This guide walks you through simple, practical steps to design a craft room that’s functional, tidy, and enjoyable to use. From storage ideas to layout planning, you’ll learn how to set up a space that works for you and supports your creativity.
The Benefits of a Well-Organized Craft Space
Many crafters underestimate how much their environment affects creativity. A cluttered space can make you feel overwhelmed and distracted, while an organized space lets you focus on what you love—creating. When everything has a home, you spend less time searching for materials and more time making art.
A well-organized craft room also keeps your supplies in better condition. For example:
- Brushes maintain their shape when stored properly.
- Paper stays clean and flat when kept in drawers or vertical organizers.
- Paints last longer when stored at the right temperature.
- Tools stay safe when put away, reducing risk of injury.
Overall, an organized craft room saves time, money, and mental energy.
Assessing Your Space Before Organizing
Before rearranging anything, take time to evaluate the space you’re working with. This helps you plan the most efficient layout and avoid unnecessary purchases.
1. Measure the Room
Knowing the size of your room determines what storage systems will fit. Measure wall space, corners, and the floor area. Consider door and window placement, too.
2. Identify Your Main Activities
What do you use your craft room for? Sewing? Drawing? Scrapbooking? Jewelry making?
Each type of crafting has its own tools and storage needs.
Make a short list:
- Activities you do most often
- Activities you rarely do
- Tools you use most often
- Supplies you need quick access to
3. Take Inventory of What You Own
Before organizing, gather every craft supply and tool in one area. This lets you see duplicates, expired materials, or items you no longer use.
Ask yourself:
- Do I use this regularly?
- Is it still in good condition?
- Can I donate or recycle it?
Decluttering now prevents wasting space on items you don’t need.
Planning a Functional Craft Room Layout
A good layout makes your craft room easy to move around in and helps projects flow smoothly. No matter the size of your space, these general layout rules can help:
Create Zones
Divide your room into functional areas based on activities. For example:
- Work Zone: Desk or table for crafting
- Storage Zone: Shelving, bins, drawers
- Cutting/Sewing Zone: Machine table, cutting mat
- Painting Zone: Easel, brush holder, palettes
- Shipping/Finishing Zone: If you sell crafts
This helps keep materials where you use them, reducing clutter and confusion.
Keep the Work Zone Clear
The main workspace should be as clear as possible. Cluttered surfaces can kill motivation. Use vertical storage and wall-mounted options to free up table space.
Use Vertical Space Wisely
Walls are often underused. Pegboards, hooks, shelves, and hanging organizers maximize storage without taking up floor space.
Smart Storage Ideas for Every Craft Room
The right storage solutions can make a huge difference in how organized and efficient your craft room feels. Here are the most effective options for different types of supplies:
Clear Storage Bins
Transparent bins let you see what’s inside without digging through boxes. Group items by category:
- Yarn
- Paint tubes
- Stickers
- Scrapbook paper
- Beads and charms
Label each bin so everything has a home.
Drawer Units and Rolling Carts
Rolling carts are great for mobile work. You can move them around depending on the project you’re working on. Drawer units help keep small items tidy, such as:
- Glue sticks
- Scissors
- Tape
- Cutting blades
- Markers
Store frequently used tools in the top drawers for quick access.
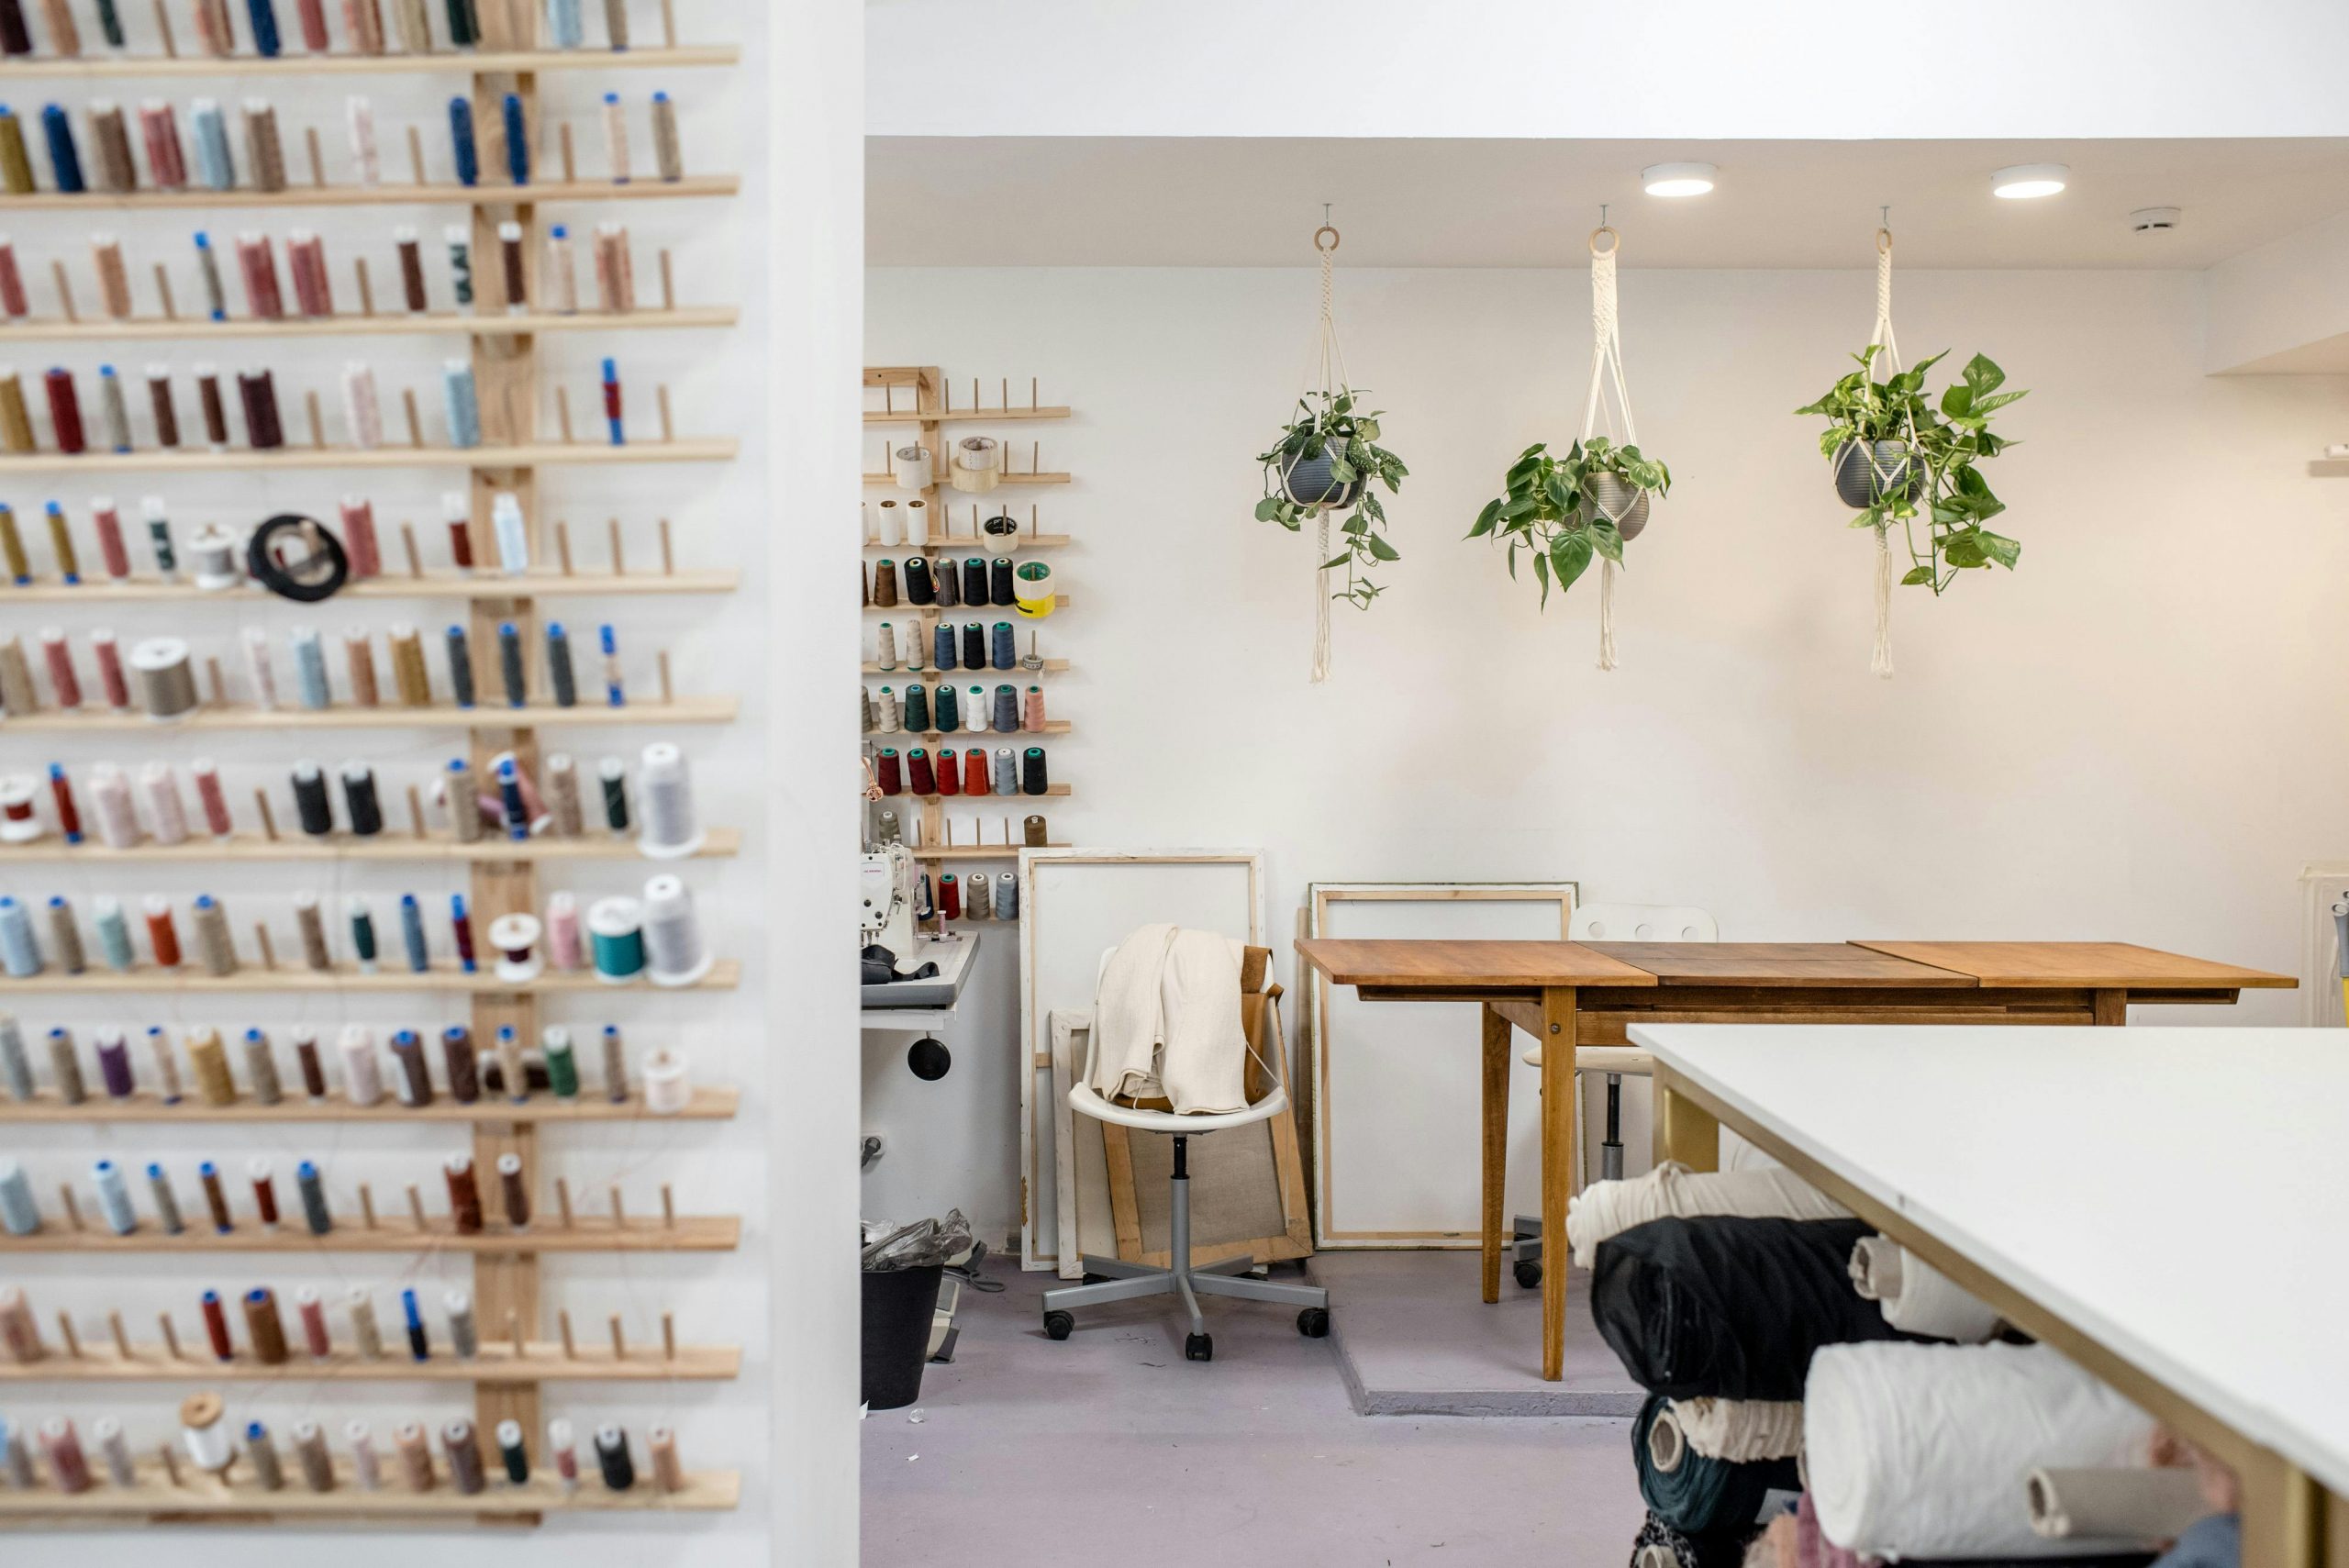
Pegboards and Wall Grids
Pegboards make it easy to display tools and keep your workspace clear. Hang:
- Scissors
- Punchers
- Rulers
- Brushes
- Thread spools
You can arrange and rearrange as your needs change.
Shelving Units
Use shelves for larger items like:
- Bins
- Jars
- Storage boxes
- Fabric stacks
- Binders with patterns or sketches
Floating shelves save space and allow you to use more room vertically.
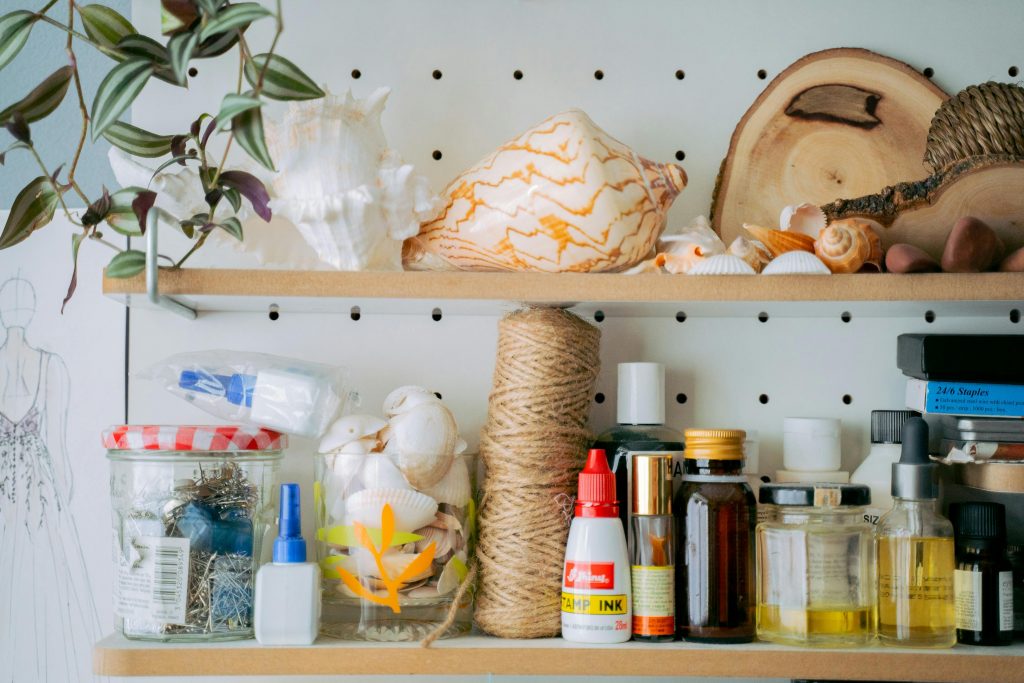
Jars and Small Containers
Jars are perfect for storing:
- Buttons
- Beads
- Small embellishments
- Sewing clips
- Pins
They also add a decorative touch when displayed on shelves.
Paper Storage Trays
If you work with paper, invest in:
- Flat paper drawers
- Vertical file holders
- Magazine racks
This keeps paper neat, clean, and unwrinkled.
Creative Storage Hacks for Small Craft Rooms
Not everyone has a large craft room, but even small spaces can be extremely efficient with the right strategies.
1. Over-the-Door Organizers
Great for storing:
- Paint bottles
- Tape
- Brushes
- Small tools
- Markers
2. Foldable Tables
Tables that fold down when not in use help save floor space.
3. Under-Desk Storage
Use stackable drawers or rolling bins under your desk to store items you don’t need daily.
4. Multipurpose Furniture
Pieces like storage benches or cube organizers give you extra seating plus storage.
5. Magnetic Strips
Attach metal tools like scissors, blades, or tweezers to magnetic strips on the wall.
How to Store and Protect Different Types of Craft Supplies
Craft supplies come in many shapes and materials, and each needs specific storage to stay in good condition.
Storing Fabric and Sewing Supplies
Fabric can easily wrinkle or gather dust. Store it by:
- Folding into cubes
- Rolling and placing in drawers
- Hanging on pants hangers
- Using clear bins with labels
Keep sewing needles, threads, and small tools in divided boxes.
Storing Painting Supplies
Paints should be stored upright and away from direct sunlight. Use:
- Drawer organizers
- Wall-mounted racks
- Clear boxes for brushes
- Jars for palette knives
Ensure lids are tightly closed to prevent drying.
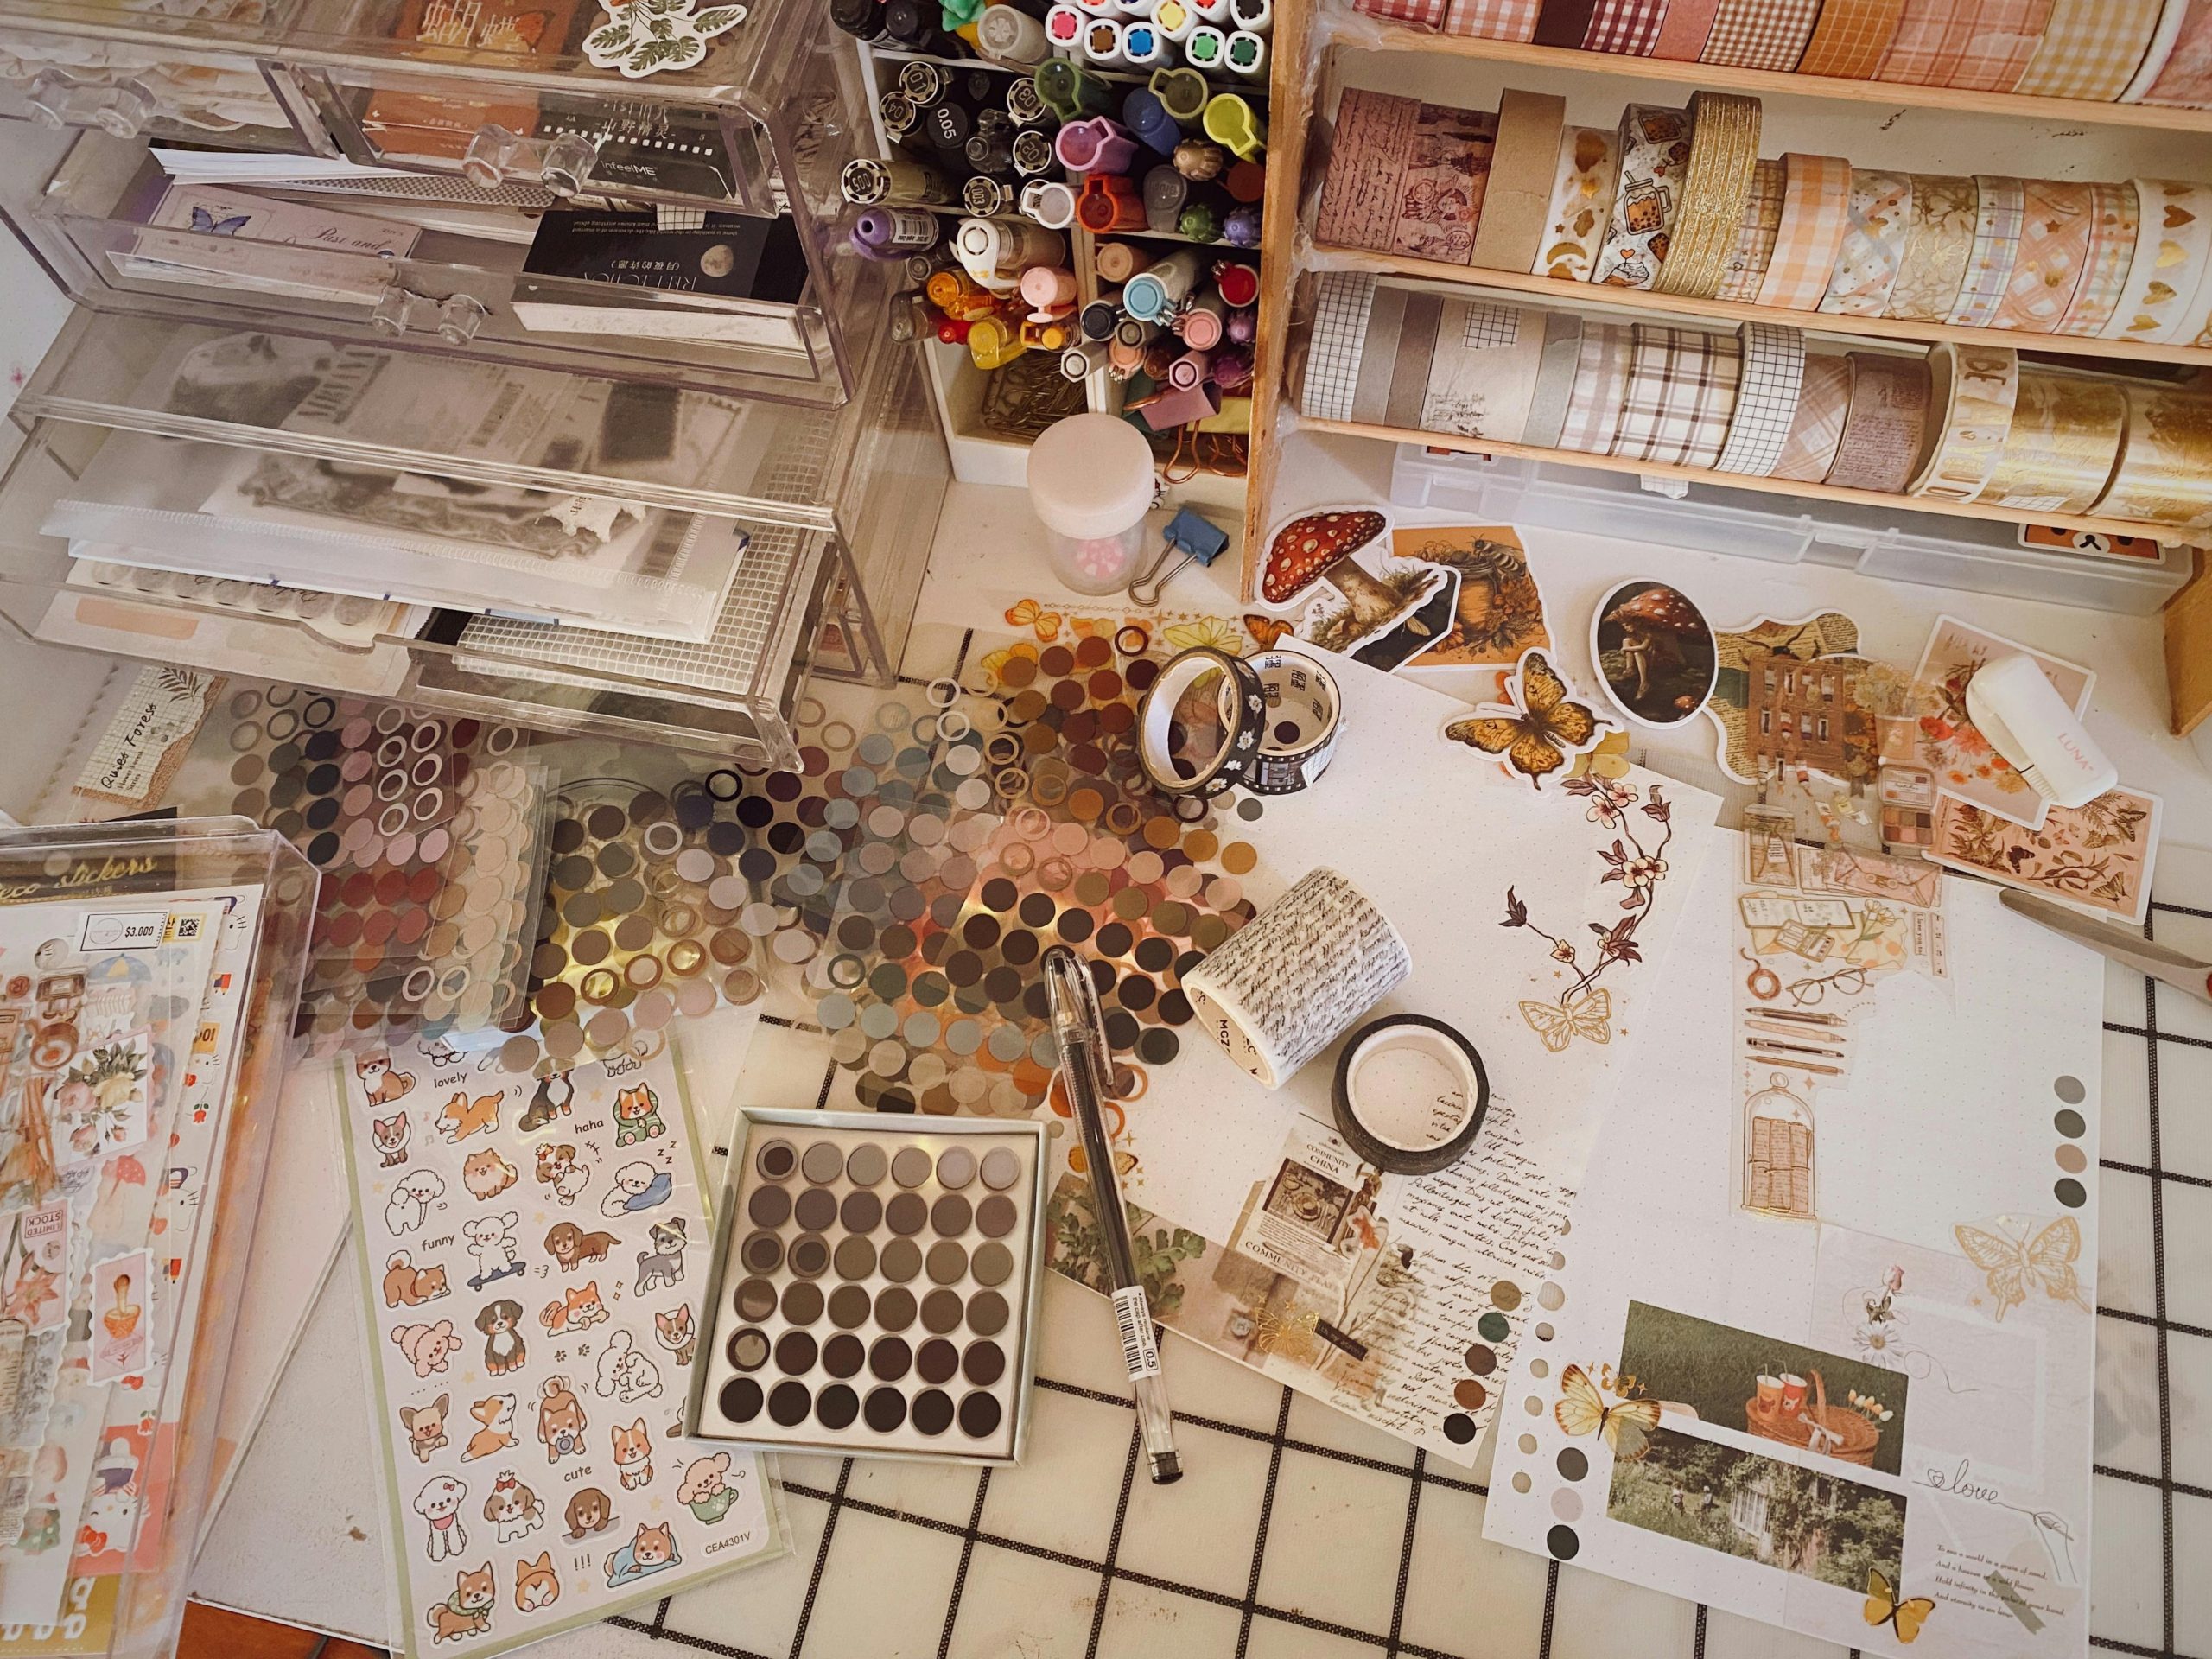
Storing Paper Crafts and Scrapbooking Supplies
Paper must stay flat and dry. Use:
- Flat file drawers
- Vertical paper sorters
- Accordion folders for specialty paper
- Plastic sleeves for stickers or die cuts
Storing Beads and Jewelry-Making Tools
Small parts can get mixed easily. Use:
- Compartment organizers
- Tiny jars
- Tackle boxes
- Drawer dividers
Sort by size, color, or type for quick access.
Incorporating Workflow-Friendly Organization
Your craft room should support how you work, not slow you down. Keep your most-used materials close to your main workspace.
Keep Daily Tools Within Arm’s Reach
Such as:
- Scissors
- Pens and markers
- Cutting mats
- Glue
- Measuring tools
Less-used items can be stored higher or farther away.
Set Up a Project Station
If you often work on multiple projects at once, use:
- Trays
- Baskets
- Project boxes
These keep materials together and prevent mixing them with others.
Using Labels to Stay Organized
Labels are essential in a craft room. They save time and help maintain long-term organization. Label:
- Bins
- Drawers
- Shelves
- Boxes
- Jars
Clear labeling also helps you quickly put things back in the correct spot.
Designing a Craft Room That Inspires Creativity
Organization is important, but so is the creative feel of your room. Add elements that make the space enjoyable:
- Soft lighting
- Wall art
- Inspirational quotes
- Plants
- A cozy chair
Choose colors that motivate you—bright for energy or neutral for calmness.
Staying Organized Long-Term
One challenge crafters face is keeping their space organized after the initial setup. Use these habits to stay on track:
- Clean Up After Each Session
Spend 5–10 minutes putting everything back.
- Do a Monthly Declutter
Go through drawers and bins to remove items you no longer need.
- Revisit Your Layout Annually
Your crafting habits may change—update your room as needed.
How Craft Room Organization Connects to Efficient Crafting
A well-organized room helps your productivity, reduces waste, and improves your overall creative experience. When you know where everything is, you work faster and with less frustration. In one section of your planning or storage system, you may also consider including resources that explain how to organize art supplies, since learning these methods helps maintain long-term order.
Final Thoughts
Organizing a craft room doesn’t have to be expensive or overwhelming. By planning your layout, choosing smart storage solutions, and forming habits to keep things tidy, you can create a crafting space that boosts your creativity and makes your projects more enjoyable. Whether you have a large studio or a small corner, thoughtful organization makes all the difference.