A clutter-free art space can make a huge difference in your creativity, productivity, and overall enjoyment of creating art. Whether you’re a beginner artist or an experienced creator with years of materials piled up, figuring out how to organize art supplies can feel overwhelming. Brushes, paints, markers, paper, tools, and miscellaneous craft items can fill shelves and drawers quickly. But with the right system, you can turn even a small or messy area into a clean, inspiring studio.
In this guide, we’ll break down how to organize art supplies in a practical, easy-to-follow way. You’ll learn how to set up your space, choose the right storage tools, maintain order, and create a functional system that works for your unique style of creating. This article aims to help you stay organized so you can focus more on making art and less on looking for lost supplies.
Why Keeping Supplies Neat Helps You Create More
Keeping your art supplies neat is more than just an aesthetic choice—it directly impacts your creativity, focus, and overall productivity. When your tools are easy to find, you spend less time searching and more time creating. A clean, organized workspace also reduces stress and makes your studio feel more inviting, which encourages you to work more often. Many artists notice they are more inspired and confident when their materials are arranged in a way that supports their workflow rather than disrupts it.
An organized art space also helps protect your supplies from damage. Paints last longer when stored correctly, brushes keep their shape, and papers stay clean and crisp. This ultimately saves you money and ensures your tools are always in good condition when inspiration strikes.
Some key benefits include:
- Faster setup and cleanup, allowing more time for actual creating
- Better protection of materials, leading to less waste and fewer replacements
- A clearer mind, since clutter often causes distraction and creative block
- More consistent artistic habits, because the space feels purposeful and motivating
By keeping your supplies neat, you build an environment that supports creativity, productivity, and long-term artistic growth.
Step 1: Sort and Declutter Your Art Supplies

Before you buy any bins or start arranging shelves, you must declutter. It’s impossible to organize items when you don’t know what you have. Sorting helps you understand what needs to stay, what needs to go, and what needs better storage.
How to Declutter Effectively
- Gather all your supplies in one place. This gives you a clear picture of how many tools you really own.
- Group by category. Sort into piles such as:
- Paints (acrylic, watercolor, oil)
- Brushes
- Drawing tools (pencils, markers, charcoal)
- Paper and sketchbooks
- Craft tools
- Adhesives and cutting tools
- Miscellaneous items
- Evaluate each item. Ask yourself:
- Do I still use this?
- Is it dried out or damaged?
- Do I have duplicates?
- Toss what’s unusable. Dried markers, crusted tubes of paint, ruined brushes, damaged paper—these take up space and serve no purpose.
- Donate or share extras. Schools, community centers, and local art programs often accept gently used supplies.
Decluttering is the foundation of a well-organized art space.
Step 2: Choose the Right Storage for Each Type of Supply
Not all art supplies are best stored in the same way. Some need air-tight containers, while others should be stored vertically or flat. Understanding your materials helps you choose the right storage solutions.
Paint Storage Tips
- Acrylics and oils: Store upright in a bin or drawer.
- Watercolors: Keep palettes closed; store pans and tubes together.
- Spray paints: Use a shelf or rack that keeps cans upright.
Clear plastic bins with labels work well for keeping paint organized.
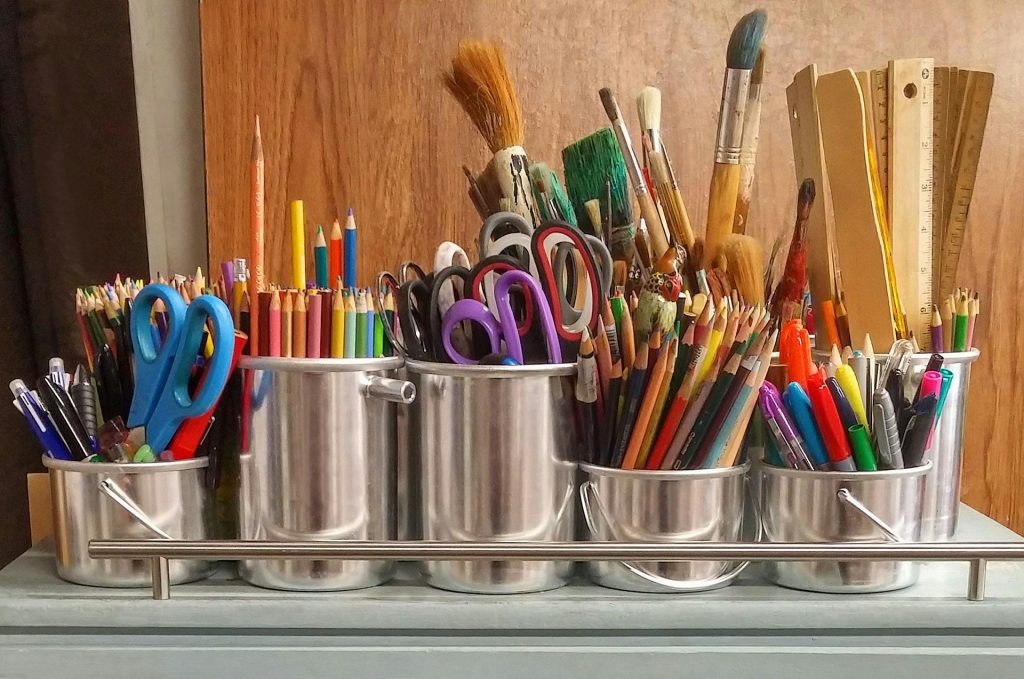
Brush Storage Tips
Brushes need care to stay in good shape.
- Store brushes upright in jars or holders.
- Keep dry and wet brushes separate.
- Use a roll-up brush organizer for travel or portability.
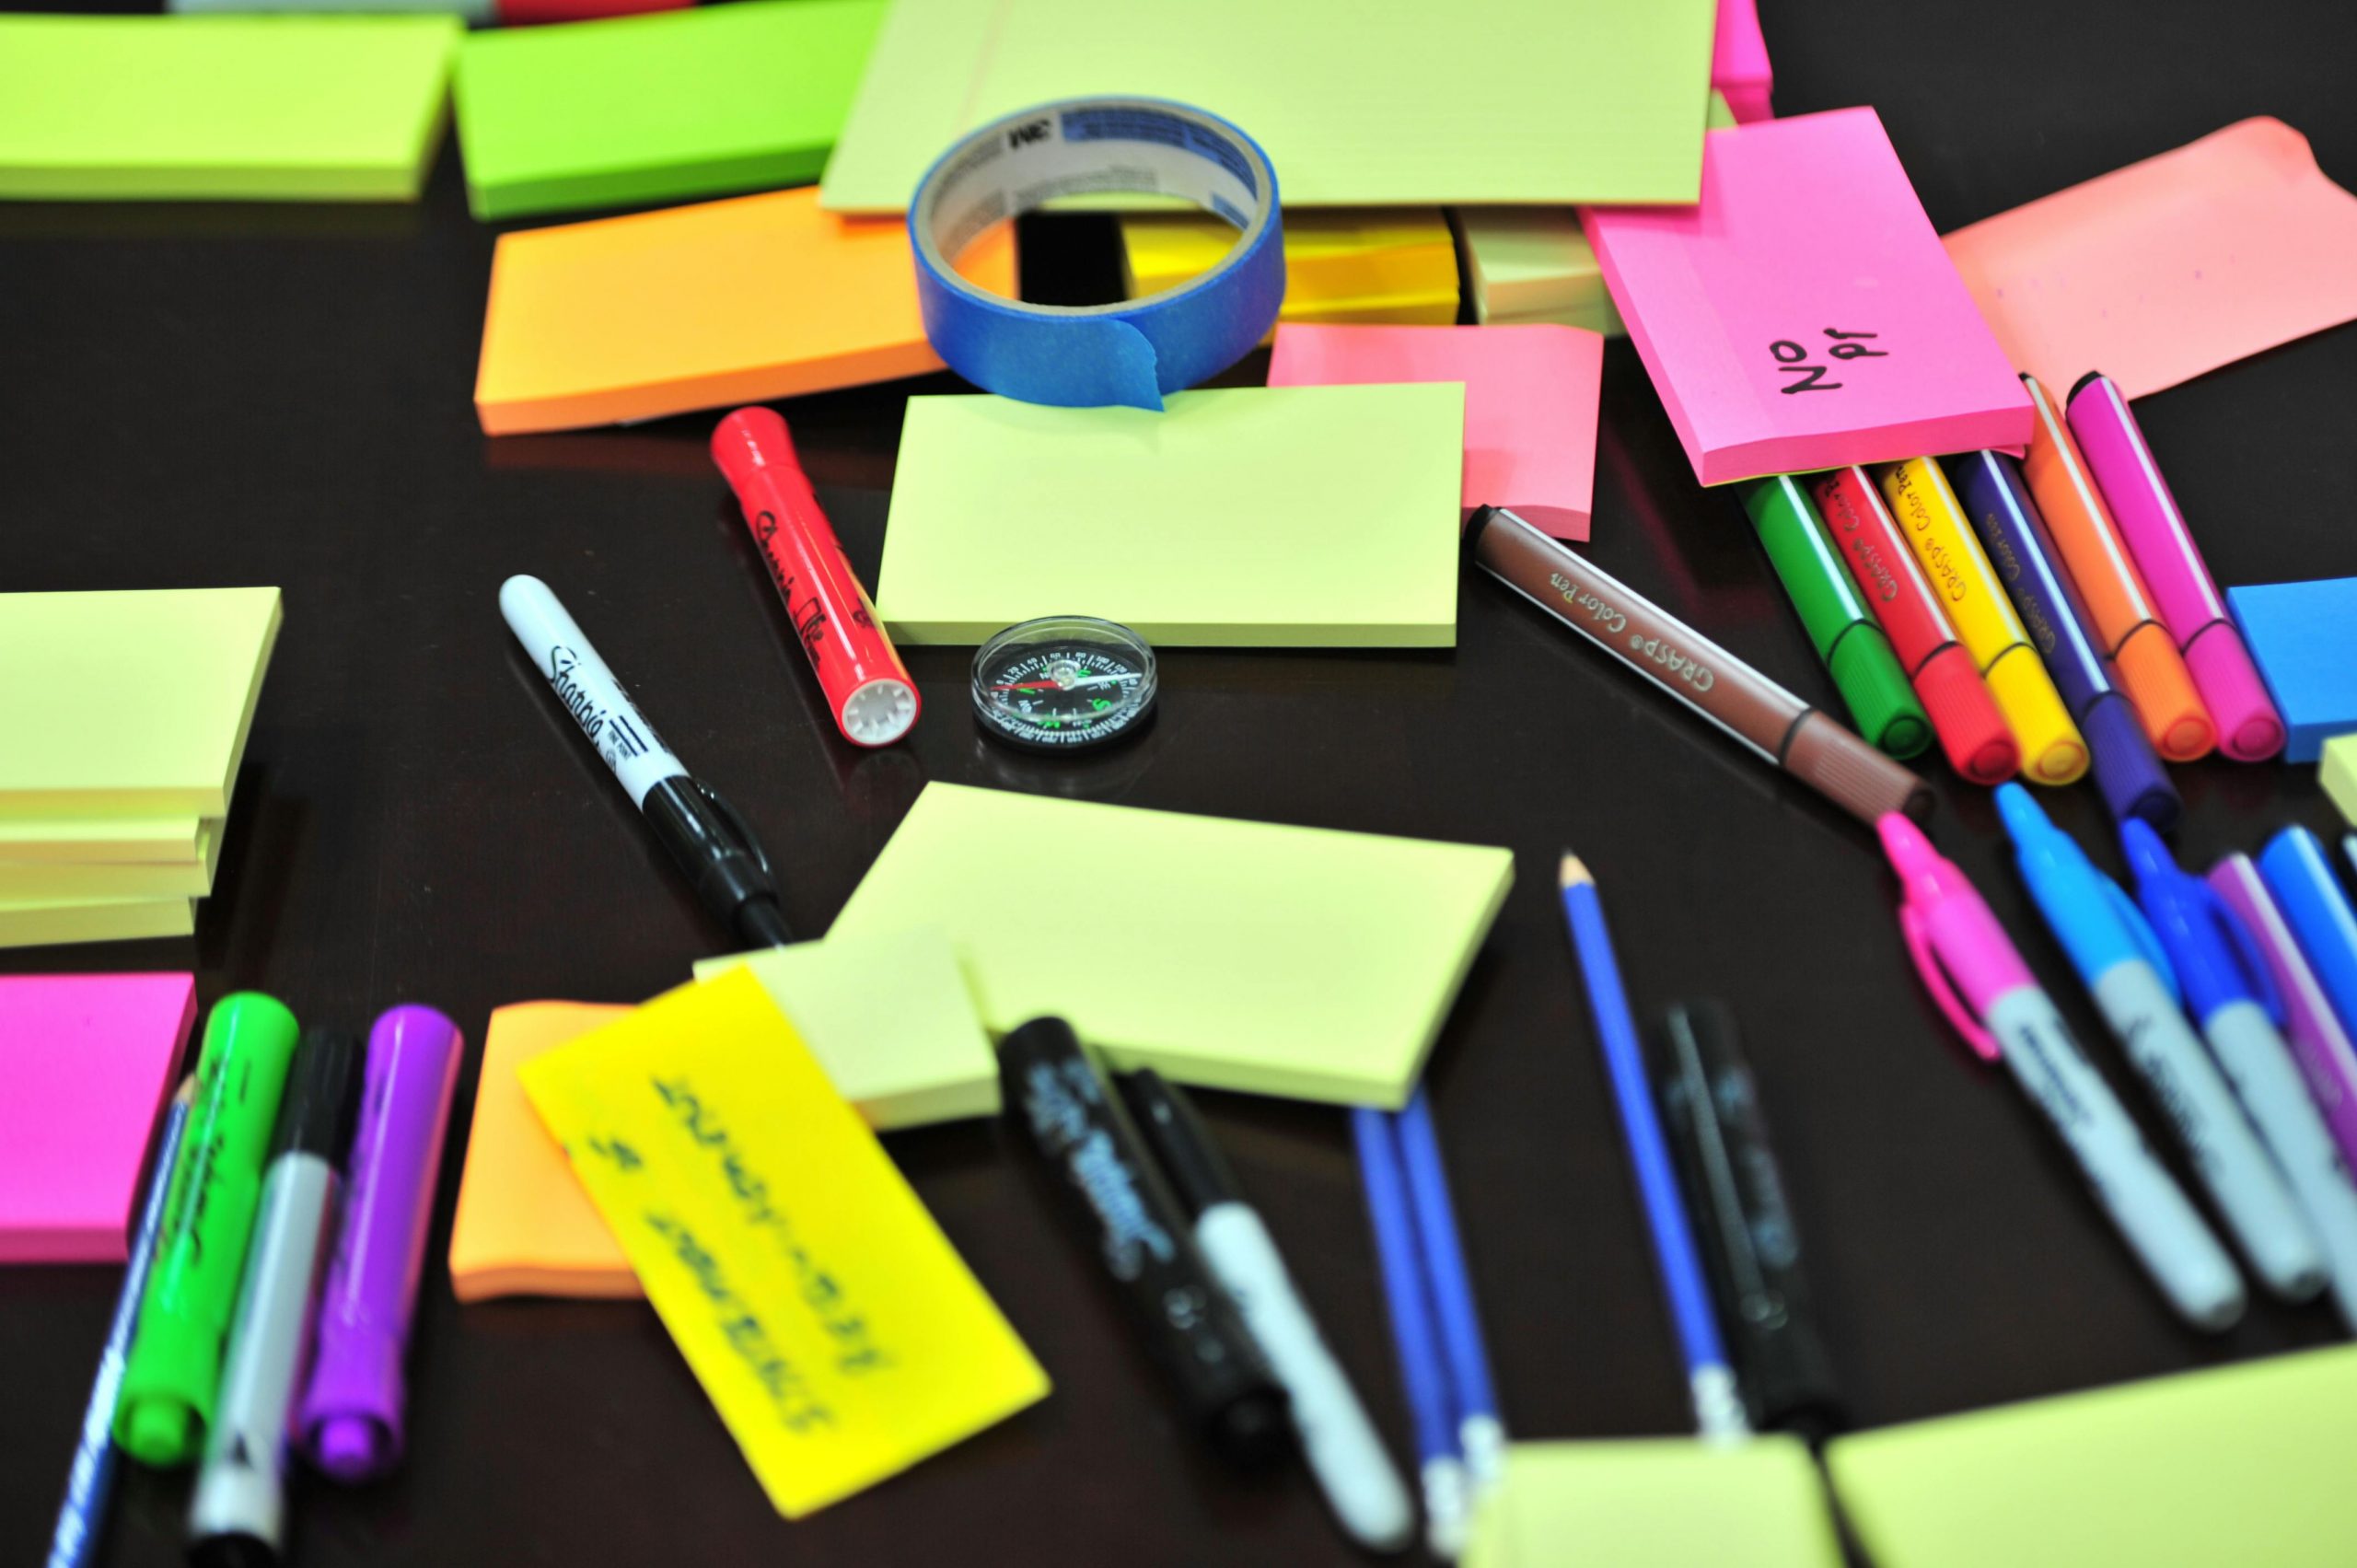
Marker and Pencil Storage Tips
Drawing tools are easier to find when sorted.
- Use clear jars, cups, or divided trays.
- Store alcohol markers horizontally (recommended by some brands).
- Organize by color family for faster use.
Paper and Sketchbook Storage Tips
Paper gets damaged easily, so proper storage is crucial.
- Use flat files or drawers for loose sheets.
- Store sketchbooks upright like books.
- Keep specialty paper in protective sleeves.
Craft Supply Storage Tips
Craft tools like glue guns, beads, ribbon, and cutting tools can be chaos without a system.
- Use drawers or clear compartment organizers.
- Store sharp tools safely to prevent accidents.
- Use wall hooks for scissors, rulers, and cutting mats.
Choosing the right storage prevents damage and improves efficiency.
Step 3: Use Containers, Shelves, and Drawers Wisely
Once you know what types of supplies you have, it’s time to arrange them so they’re easy to access. The best organizational system balances visibility and accessibility.
Use Clear Containers
Clear bins, jars, and boxes let you see what’s inside without opening them. This saves time when you’re working on a project.
Label Everything
Labels make a massive difference, even if containers are transparent. Use labels for:
- Paint types
- Craft tools
- Paper types
- Pens and markers
- Brush sizes or uses
Labels help you—and others—keep your space organized.
Vertical Storage Saves Space
For small studios, using vertical space is essential.
- Wall shelves
- Pegboards
- Hanging racks
- Magnetic strips (for metal tools)
These options free up desk space for actual art-making.
Drawer Systems for Smaller Items
Small items like erasers, clips, sharpeners, or beads can get lost easily.
Use:
- Drawer organizers
- Stackable drawer units
- Desk drawers with dividers
Organize by category for fast access.
Step 4: Create a System That Matches How You Work
Your organizational system should support your workflow, not fight against it. Think about how you create art and structure your space around your habits.
Ask Yourself These Questions:
- Do you work with many tools at once?
- Do you switch between mediums often?
- Do you need a “grab-and-go” station?
- Do you prefer everything visible or tucked away?
Examples of Different Systems
- The Minimalist System
Best for small spaces or artists who use only a few materials.
- One shelf or cart
- Limited tools
- Clear bins for essentials
- The Medium-Focused System
For artists who specialize in one type of art.
- Separate storage for brushes, paints, mediums, and canvases
- Easy access to most-used supplies
- The Multi-Medium System
Great for artists who switch between projects.
- Separate bins for each medium
- A dedicated workspace for each type
- Clear labels so nothing gets mixed up
Setting up the right system saves time and keeps your creative flow uninterrupted.
Step 5: Organize Your Workspace Layout
How your space is arranged affects your productivity and comfort. You want your art tools within easy reach, but you also need room to work.
Key Layout Tips
- Keep your most-used tools within arm’s reach.
- Store less-used supplies on higher or lower shelves.
- Keep the center of your workspace clear.
- Use a rolling cart for mobile organization.
A smart layout supports smoother, faster creative sessions.
Creative Organization Ideas for Artists
If you prefer unique or aesthetic storage solutions, consider these ideas:
Mason Jars for Brushes and Tools
They look clean and artistic—perfect for an artsy workspace.
Pegboards for Wall Storage
Use hooks, shelves, and baskets to hang tools neatly.
Rolling Carts for Mobility
Great for small studios or shared spaces.
Magnetic Strips
Hold metal tools like scissors or palette knives.
Tiered Trays
Ideal for sorting small supplies by category.
These creative solutions can add style and personality to your studio while keeping it functional.
How to Organize Art Supplies for Kids
Kids’ art supplies need extra structure because they use materials quickly and often leave items scattered.
Kid-Friendly Tips
- Use bins with pictures instead of labels.
- Choose durable, easy-to-clean containers.
- Keep messy supplies (paint, glue) up high.
- Make a “creativity station” with markers, crayons, and paper.
When kids can find their supplies easily, they’re more likely to stay creative—and you’re more likely to stay sane.
Step 6: Maintain Your Art Supply Organization
Staying organized long-term requires a simple routine. You don’t need to spend hours cleaning every week—small habits matter most.
Easy Maintenance Tips
- Put things back after each session.
- Do a mini-cleanup once a week.
- Reorganize every few months as your needs change.
- Replace worn or dried-out supplies regularly.
The best organization systems make cleanup fast and easy.
Common Mistakes to Avoid When Organizing Supplies
Many artists make these mistakes without realizing it:
- Keeping too much — hoarding materials leads to clutter.
- Storing everything out of sight — you forget what you own.
- Mixing unrelated categories — makes tools harder to find.
- Overcomplicating the system — simple systems are easiest to maintain.
Avoiding these mistakes helps you stay organized and efficient.
Final Thoughts
Learning how to organize art supplies can transform your creative experience. With a clean and functional studio, you can focus more on what matters most—creating art. Whether you have a small desk or a full studio, the key is to build a system that matches your workflow and keeps your tools easy to find.
A well-organized space boosts creativity, protects your supplies, and gives you the freedom to create without frustration. Start small, stay consistent, and build a system that supports your artistic journey.