Getting started with metal railway kits can seem daunting at first, but with the right guidance, anyone can assemble their own intricate railway models. These kits offer enthusiasts the unique opportunity to recreate miniature versions of iconic trains and rail infrastructure from around the world. In this article, we will discuss essential steps and tips to help beginners navigate this rewarding hobby.
Metal railway kits provide a more challenging yet fulfilling experience compared to their plastic counterparts. The precision and attention to detail required can enhance one’s patience and problem-solving skills.
Through this guide, we aim to demystify the process and equip you with the knowledge to confidently tackle your first project.
Whether you’re completely new to model railways or an experienced hobbyist looking to delve into metal kits, this article is designed to support you. We’ll cover everything from tool selection to advanced finishing techniques, ensuring a comprehensive overview. Let’s delve into the world of metal railway kits and see what makes them so captivating.
Metal vs Plastic Kits
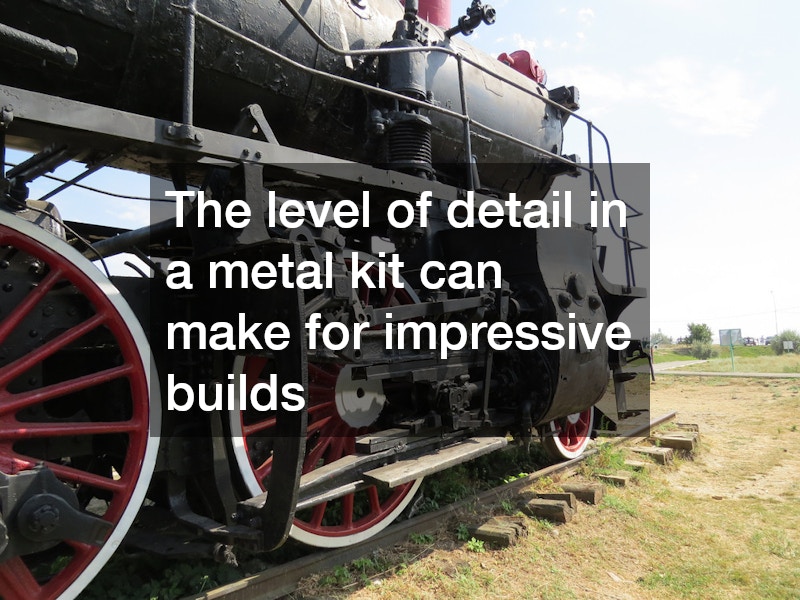
Metal kits, such as those made by Hornby model railways or Lionel and Marklin, offer a level of realism and durability that plastic kits often cannot match. The weight and texture of metal kits add authenticity and robustness, lending themselves well to detailed modeling and precise engineering. However, they often require more time and skill to assemble properly compared to plastic versions.
It’s important to consider that metal kits typically involve more precise fitments and connections. Working with metal requires special tools and adhesives that are tailored to metal surfaces. Additionally, painting and finishing metal can create a professional look that mimics actual trains, enhancing the overall visual appeal.
Conversely, plastic kits tend to be more forgiving, ideal for beginners who wish to learn the basics of model railway building. They offer easier assemblage, with parts snapping or gluing together without the need for specialized equipment. However, for those seeking a more realistic and lasting model, the extra effort involved with metal kits can be a worthwhile pursuit.
What Tools and Materials Do I Need to Assemble Metal Railway Kits?
1. Essential Tools
When assembling metal railway kits, having a good set of tools is vital. The basics include pliers for bending and holding parts, screwdrivers for securing tiny screws, and hobby knives for precise trimming and cutting. Other helpful tools include a set of small files for smoothing edges and a soldering iron for electrical connections, if needed.
Proper organization fosters efficiency, so consider using trays or organizers to sort and manage small parts. Magnetic screwdrivers or tweezers are excellent tools for handling tiny screws and nuts, preventing loss and facilitating placement. Remember, having quality tools can make the assembly process smoother and more enjoyable.
Investing in a reliable workbench or comfortable working space is also essential. Ensure there is adequate lighting to avoid eye strain when working on small details. A magnifying glass or head-mounted magnifier may also be beneficial, giving you a clearer view of intricate parts.
2. Recommended Materials
Beyond the components included in the kits, certain materials enhance the building process and finished project. High-quality adhesives, such as epoxy or cyanoacrylate (super glue), are crucial for securing metal parts. It’s important that these adhesives are capable of a strong bond suitable for metal surfaces.
To paint and finish your metal model, it’s recommended to use enamel or lacquer paints for a durable and glossy finish. Base coating with primer specifically made for metal helps ensure that paint adheres properly and produces a smooth surface. For additional detail, consider weathering powders to replicate age and usage marks seen on real trains.
Artistic additions such as decals or etched details can enhance the realism of your model. Available in hobby shops, these elements offer an authentic appearance, replicating insignias and markings found on original trains. Protective finishes, like clear varnishes, can help preserve your paintwork from scratches and fading over time.
3. Safety Considerations
Working with sharp tools and metal parts requires adherence to safety precautions to prevent injury. Always handle hobby knives and sharp objects carefully, keeping fingers away from cutting paths, and consider wearing protective gloves when necessary. Be cautious of swallowing small parts, particularly around children and pets.
It’s wise to work in a well-ventilated area, especially when using paints, adhesives, and other chemicals. Masking can help prevent inhalation of fumes, while protecting your workspace from accidental spills and stains. Additionally, storing all tools safely after use reduces the risk of accidents.
Electrical components, such as installed lighting or mechanical motors, require careful wiring to avert short circuits and potential fires. Insulate exposed wires properly, and adhere to instructions provided with electrical elements. In case of accidents involving electrical connections, disconnect immediately to troubleshoot safely.
How Do I Ensure the Best Quality Assembly of My Metal Railway Kits?
1. Step-by-Step Assembly Process
Successful assembly begins with thorough preparation. Start by reviewing the instruction manual carefully, familiarizing yourself with the components and sequence of assembly. Having a clear understanding of the entire process will help prevent mistakes and improve efficiency.
Begin assembling the largest sections of the kit first, as they provide structural stability for smaller parts. Dry-fitting components before permanent assembly ensures they fit together correctly, allowing you to adjust and make necessary modifications. Use adhesives strategically, applying a minimal amount to avoid excess, which can obscure detail.
Completing sections one by one fosters a logical progression in your assembly process. Check the alignment and sturdiness of connections regularly to guarantee a seamless build. Patience is key; take your time to achieve the best possible result, as rushing can lead to errors and misalignment.
2. Troubleshooting Common Issues
Common challenges in assembling metal railway kits include misalignments, missing parts, or unstable connections. Should any part not align properly, gently adjusting with pliers or re-sanding components can provide a corrective solution. Ensure that all parts are present and undamaged before beginning assembly, contacting the manufacturer for replacements if necessary.
If adhesive bonds are not holding as expected, reevaluate your choice of glue, ensuring its suitability for metal surfaces and compatibility with the specific parts. Mechanical fastenings, like screws, should be tightened securely, but not excessively to avoid stripping or damaging threads. Regularly inspect your model for weak points or loose parts, reinforcing as needed to maintain structural integrity.
Reader feedback suggests that when fitting electrical components, testing circuits before finalization helps identify connectivity problems early. This allows for troubleshooting without disassembling the entire model. Remember, caution and persistence are key to overcoming assembly challenges effectively.
3. Enhancing the Final Product
After completing the basic assembly, enhancing the appearance and functionality of your model can elevate it from novice to advanced quality. Consider applying weathering techniques to replicate the wear and tear experienced by real railways. This might involve using rust-effect powders or painting to create a sense of authenticity and history.
Additional detailing, such as adding realistic foliage, figures, or scenery elements, can transform models into dioramas. Consider integrating lighting systems into your railway setup for added realism and functionality, creating day or night scenes at the flip of a switch. Electrical components can be augmented with programmable controllers, offering dynamic movement and interactions.
Highlighting intricate features with washes or dry-brushing techniques can enhance the depth and dimension of small details. It’s worthwhile investing time into research and experimenting with various methods to achieve your desired finish. Sharing your creations online or with local model groups offers opportunities to exchange ideas and refine techniques.
Conclusion
Assembling metal railway kits can be an immensely satisfying hobby that marries patience with creativity. While challenging, the process of building these models is richly rewarding, resulting in stunning representations of historical and modern trains. By understanding the tools and materials needed, and following a structured approach to assembly, enthusiasts can create stunning and functional railway models.
The tips and strategies shared in this guide aim to provide clarity and confidence for both new and seasoned hobbyists. Approach each project with an open mind and the willingness to learn from each experience. Continued practice, patience, and creativity are key components in mastering the art of model railway assembly.
Ultimately, the joy of this hobby lies in the journey of creation and the satisfaction of finishing a detailed work of art. By embracing both challenges and successes, modelers can enjoy a captivating pastime that celebrates the beauty and complexity of railways. Happy modeling!
.


